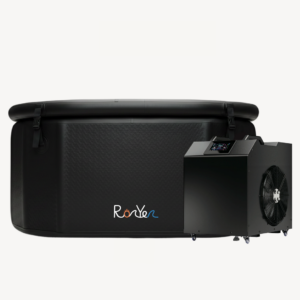
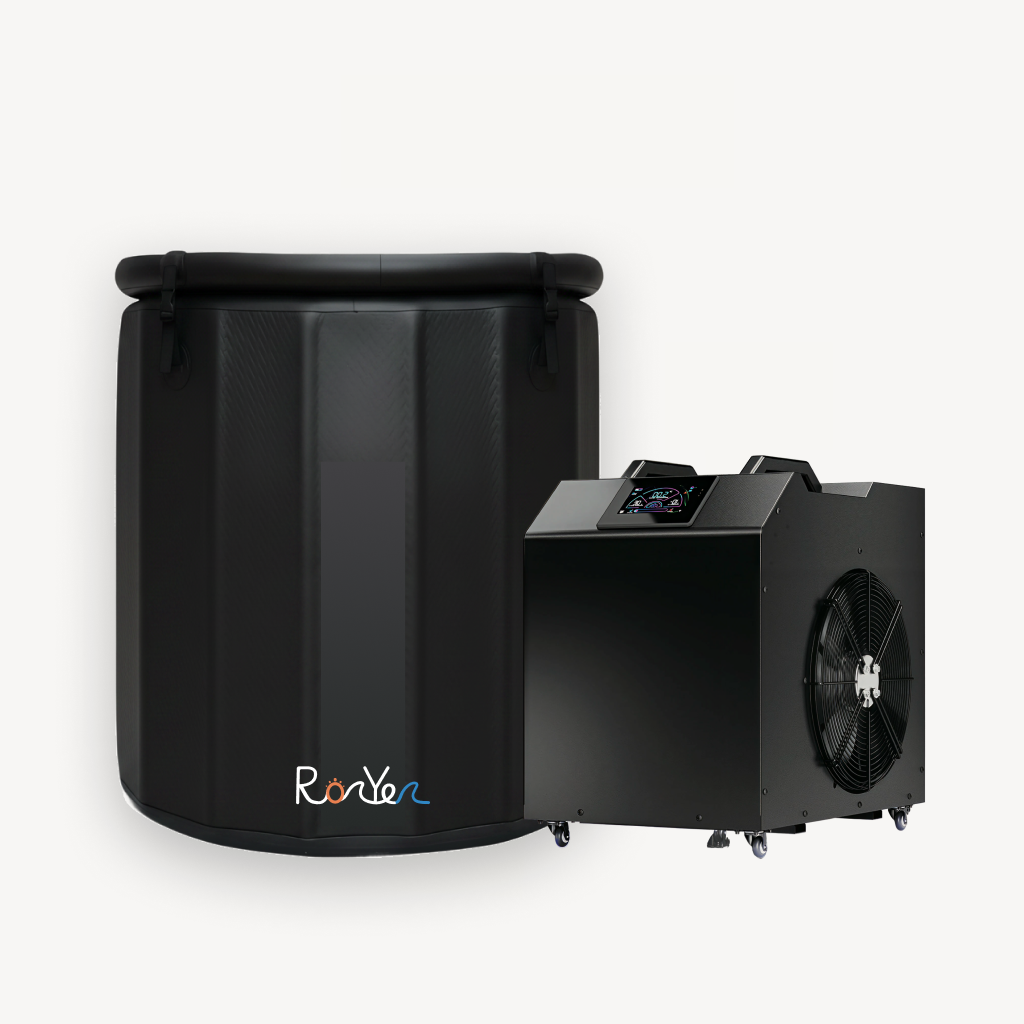
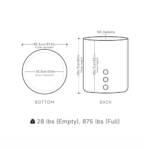
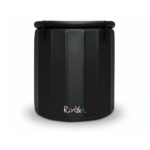
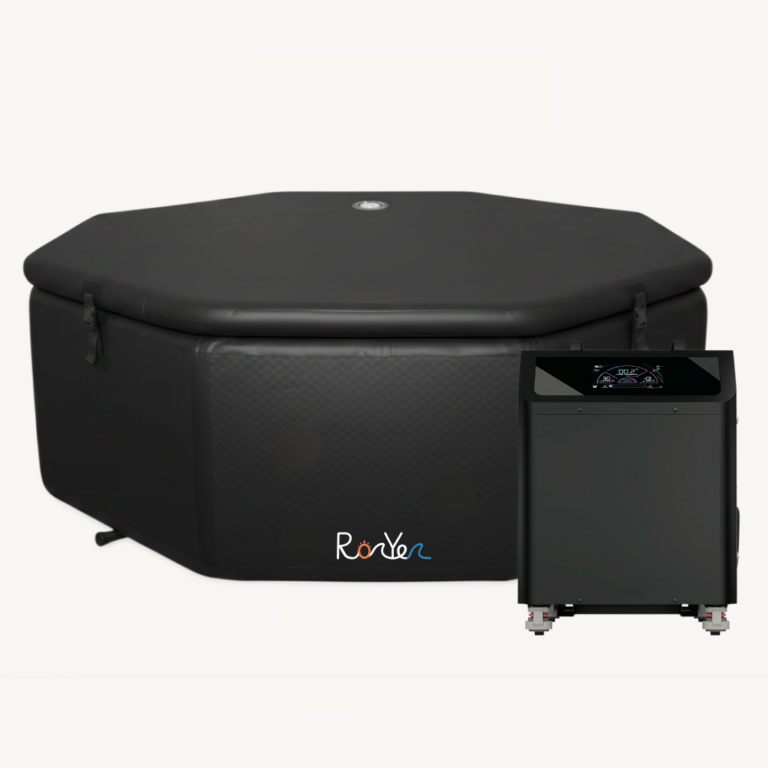
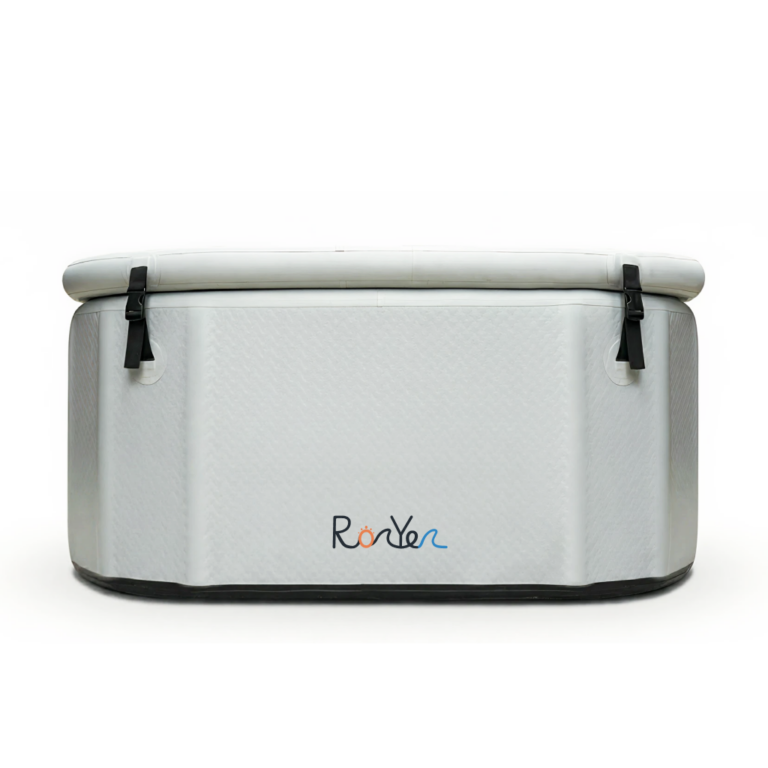
Tub inflation
Unpack the tub from the carry backpack and lay it on a flat, clean surface. Attach the included inflation pump to the Air Valve port and inflate until the walls are firm and non-flexing (typically 10–15 minutes). The tub is ready for use immediately after inflation — no tools required.
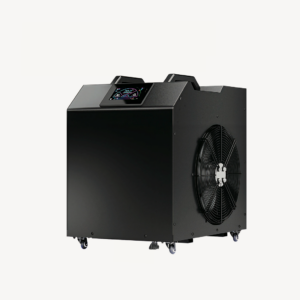
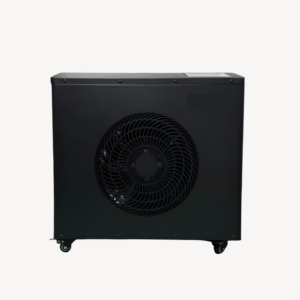
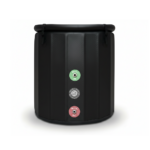
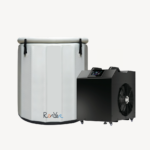
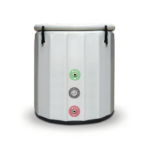
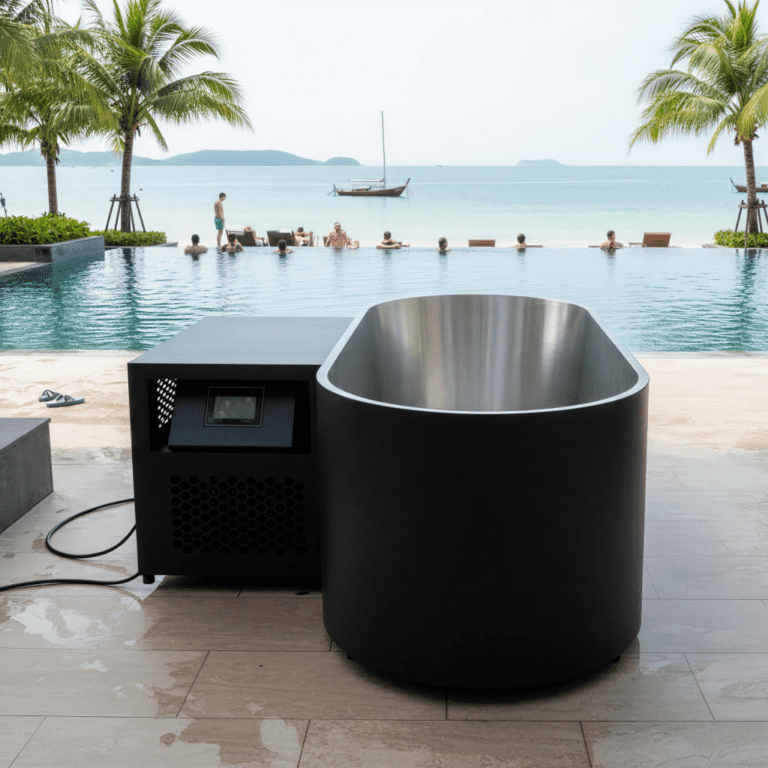
Chiller connection
Connect the two included water pipes to the Water In (green) and Water Out (red) ports on the rear panel. Tighten finger-tight, then use the included waterproof tape on threaded joints if needed. Place the chiller unit beside the tub on a level surface with adequate airflow around the fan side. Plug into a standard 240V single-phase outlet. No licensed tradesperson is required for the hose connection, but ensure the power outlet is on a circuit rated for the chiller's running load.
First fill
Fill the tub with water via the open top or through the Water In port with the chiller running. Power on the chiller, set the target temperature via the touchscreen or the smartphone app, and allow the unit to reach the set point before use.
Using without a chiller
Cap the Water In and Water Out ports (factory caps are pre-fitted) and fill the tub manually with cold water and ice as needed.